Knowing We’re Not Alone is Half the Battle.
We can find so much strength and encouragement when we realize we aren’t in this thing called life-alone.
I’ve never been diagnosed with Seasonal Affective Disorder (SAD) and honestly, I’ve always rejected the idea that I could even be affected by the change in seasons or the fact that, here in Seattle, the winters can be rough, not only because of the rain but because of the long, dark winter days.
From about the end of November through February the days are pretty grey. In fact, there’s a term that many Seattleites have coined as “The Big Grey” to define this season of long and cloudy days that never seem to end.
This winter season has felt a bit different for me.
I’m pretty sure that the “Big C” combined with some really tough personal traumas that have occured over the past two years have significantly contributed to this feeling of sadness and the blues. I’ve wavered with what it looks like for me to care for myself while attempting to walk through daily life and still maintain some sense of normalcy.
In some ways, I’m sure you can relate to that tension as well.
I’ve found it extremely difficult over this time to stay motivated. Feelings of loss and hopelessness have overwhelmed me and, at times, I’ve felt completely suffocated by worry, fear and doubt.
Where my faith is concerned, I wouldn’t say all is lost. I have surely felt grounded in some of my worst times knowing that I am not alone in all of this. I still have community and a solid group of friends who have walked through what I’ve determined is one of the hardest seasons of my life. They’ve stuck beside me through it ALL. While I haven’t always felt like God is near (hello, Job), I am reminded that He is present and has generously offered the gift of His comfort not only by His Holy Spirit but through the gift of friendship and companionship.
That being said, I am a firm believer, that we not only need faith and scripture and the actual tangible power of the HS but I believe and my experience tells me that it is equally important to combine that with the help of therapists and counselors and their knowledge of how our bodies and brains were created to heal.
I have found over the past two years that, combined with faith, this has become my “secret sauce” so to speak. This strategy has offered me the healing I have so desperately desired and I am continuing to lean into what that looks like for me.
As I journey and as my desires (and levels of energy) ebb and flow, I’ve looked more deeply into ways that I can practically pull myself out of the pit.
This weekend on Instagram I took to my stories to ask some of you if you’re dealing with “the downers” this time of year and, if so, how you’re combating it.
You all SHOWED UP, ok?
I’ve compiled and condensed your responses here and added some of my own to give you some ways that you can add to some of your established routines to create a “no fail” plan to support your mental health in this and future winter seasons.

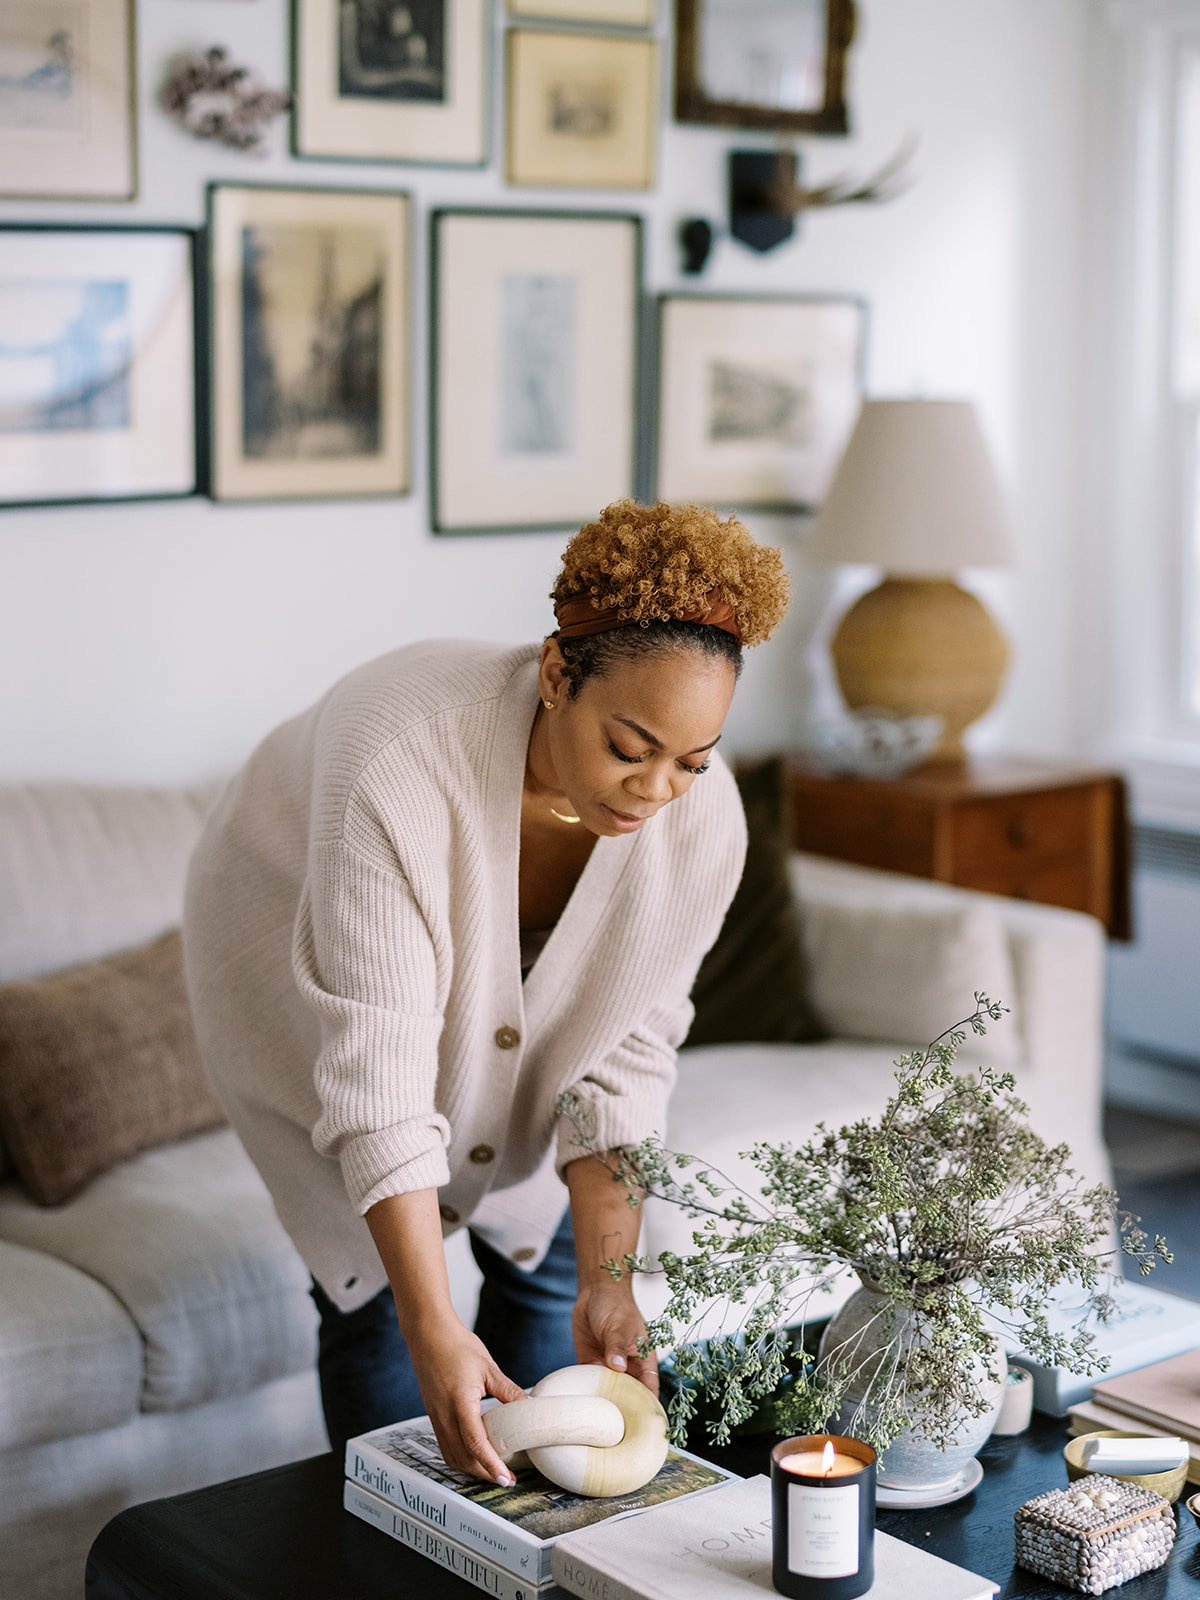
photography | Anna Peters
14 WAYS YOU CAN FIGHT THE WINTER BLUES
GET OUTSIDE | This was one that so many of your shared. Even if only a 20-minute walk, getting out into the fresh air is a great reset for the nervous system and is a proven way to decrease the sad vibes and increase good hormones like dopamine and endorphins.
For those of us in cold, wet or rainy climates, this may not be as easy so the right kind of gear is key. I’ll be sharing more on that specific topic later in a different post but on a very basic level, invest where you can in jackets, coats, sweaters and outerwear that is right for you and where you live.
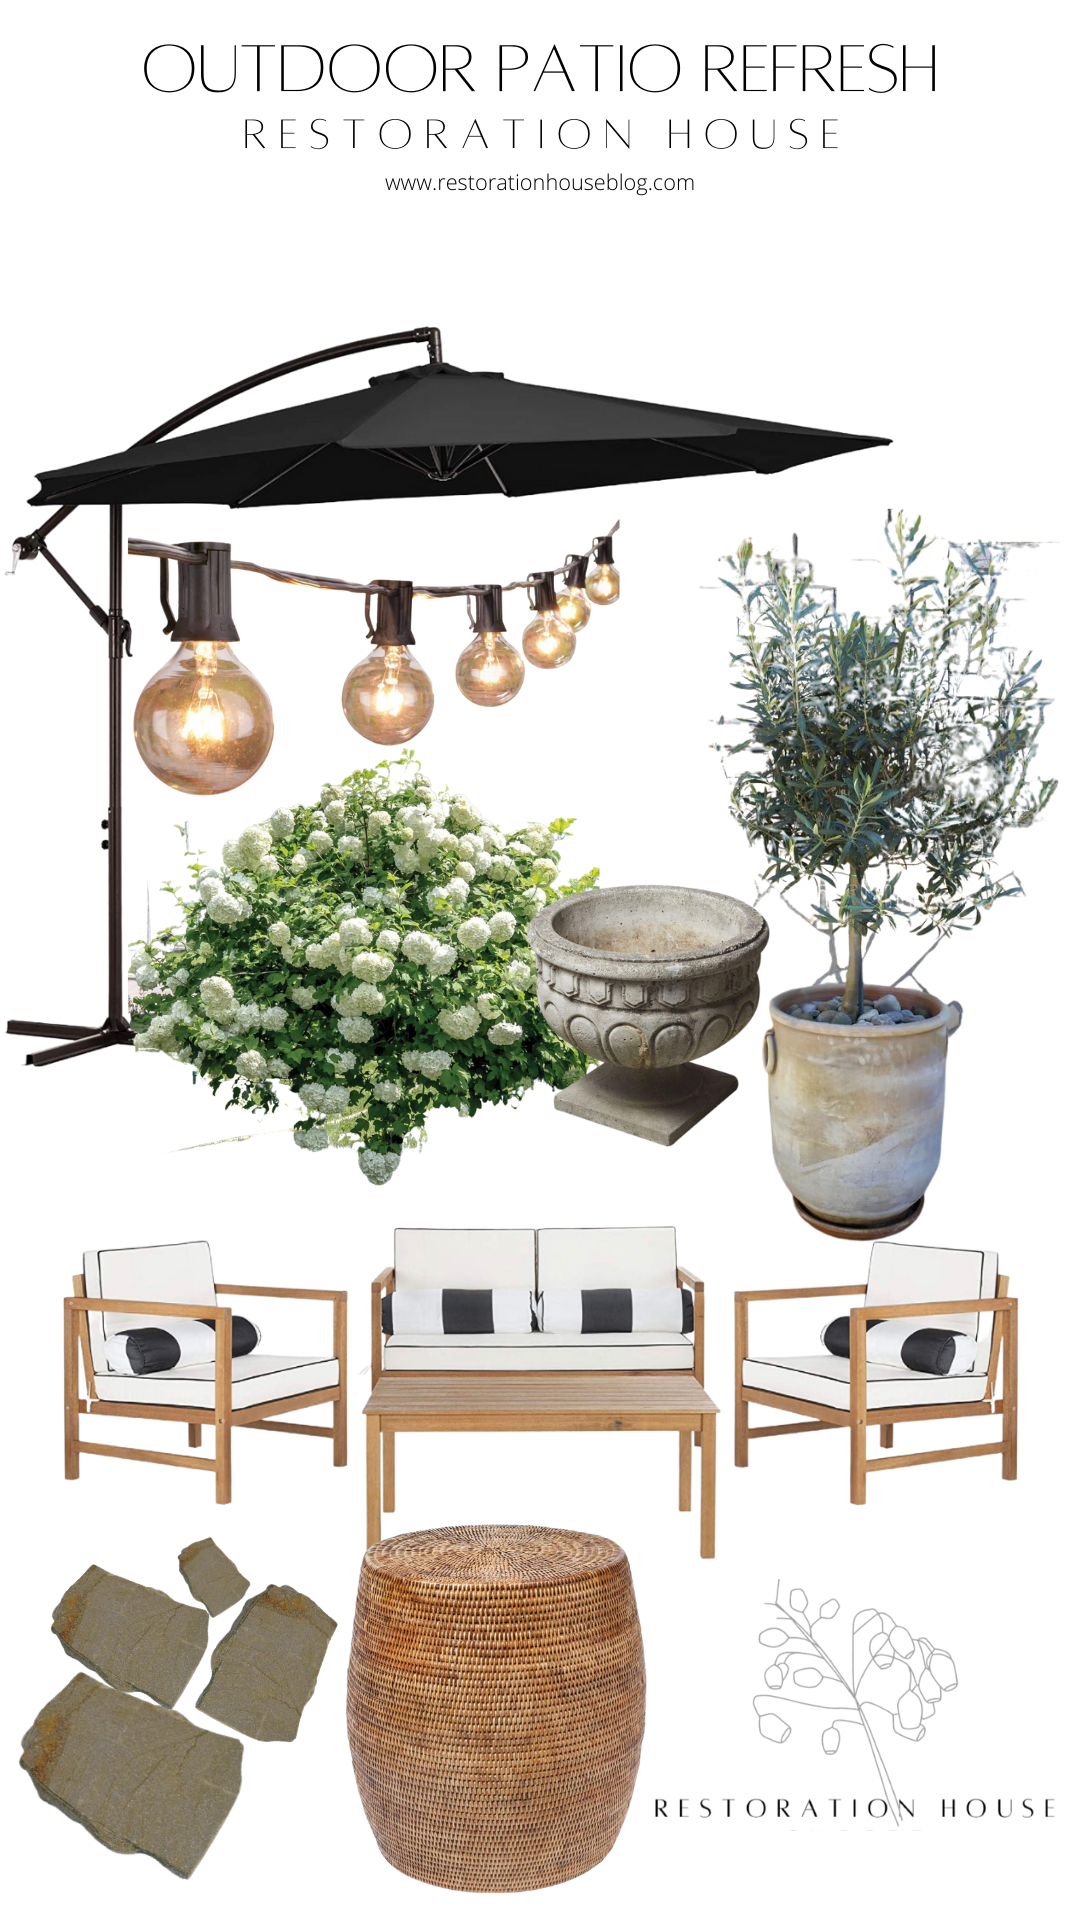
GARDENING | Indoor or outdoor—it really doesn’t matter. Regardless of which you choose or the climate you live in, there’s not doubt getting your hands dirty—whether with potted plants or outside in the actual garden—is beneficial. I absolutely LOVE gardening mostly because of the spiritual parallels that seem to find their way into pucking, pulling and pruning of new and old growth but also for the physical labor sometimes required.
THERAPY LIGHT OR SAUNA | So many folks mentioned purchasing a therapy light or sauna use saving their lives in this season. I haven’t tried either but have considered the therapy light more heavily over the past few weeks as Seattle sems to get darker and darker.
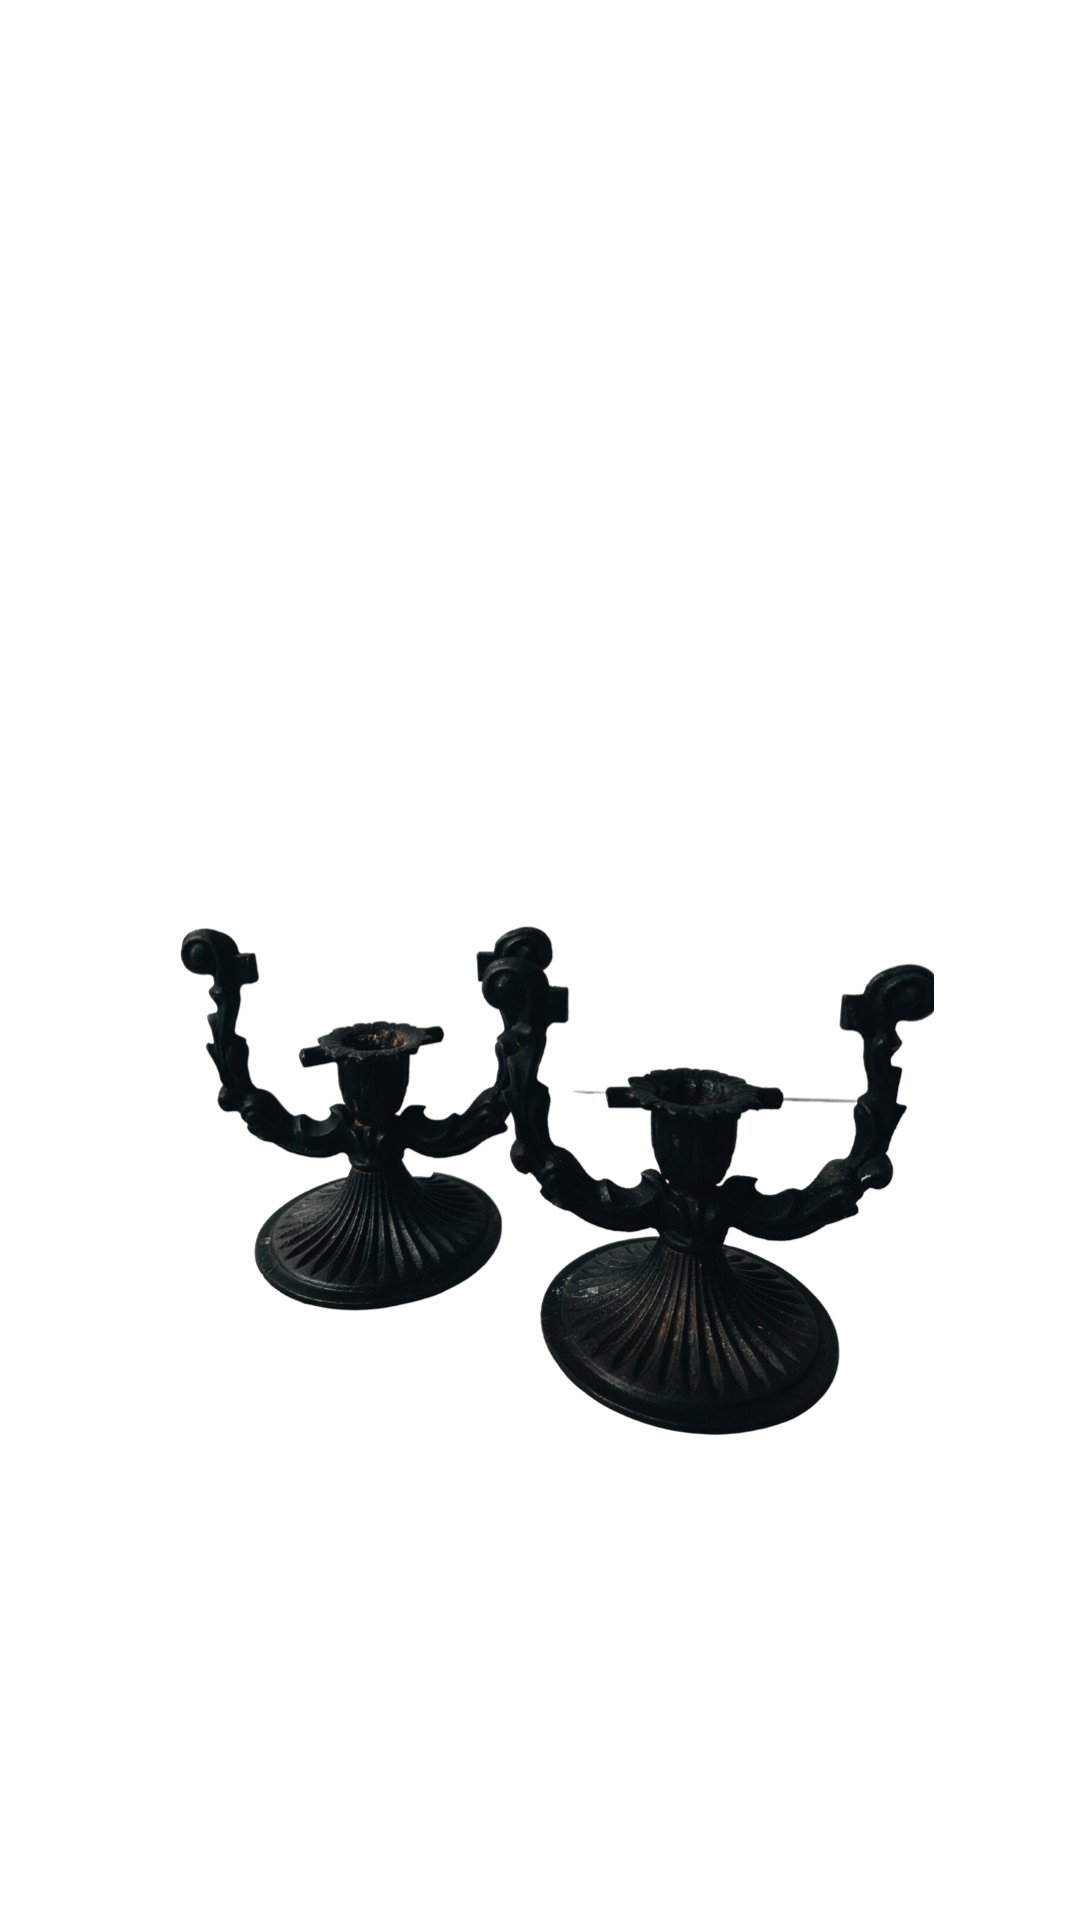
CANDLES + LIGHTING | I LOVE a good candle. According to most of you in my DM’s this past week, you do too. I have some favorites that I love and I’d suggest finding some that are natural and don’t release dangerous toxins since that can obviously defeat the purpose of healing. There are so many on the market right now that are offered in all sorts of price ranges. Convivial candles happen to be some of my personal favorites as well as Brooklyn Candle Co.
MOVEMENT | This can absolutely be combined with getting outdoors but doesn’t need to be. Movement can look like yoga and stretching in a cozy spot in your home or an indoor treadmill run. Whatever you choose, there’s no doubt that stifled systems lead to anxiety and one sure-fire way to combat the internal wigglies is to get the body moving and those systems flowing. Our adrenals, gut and other systems all benefit from consistent movement.
GET SLEEP | Not just rest. I think most of us understand on a basic level that sleep is necessary to function in our everyday lives but it can still be difficult for us to put that into practice and make the choices we need to make to get the results we desire. Sleep is key and allows our bodies, on a cellular level, to regenerate and replenish. Not only is this important for daily success but this allows us to achieve optimal wellness, overall. I love this book from Dr. Mark Hyman and have put so many of his standards into practice that I’ve found extremely helpful.
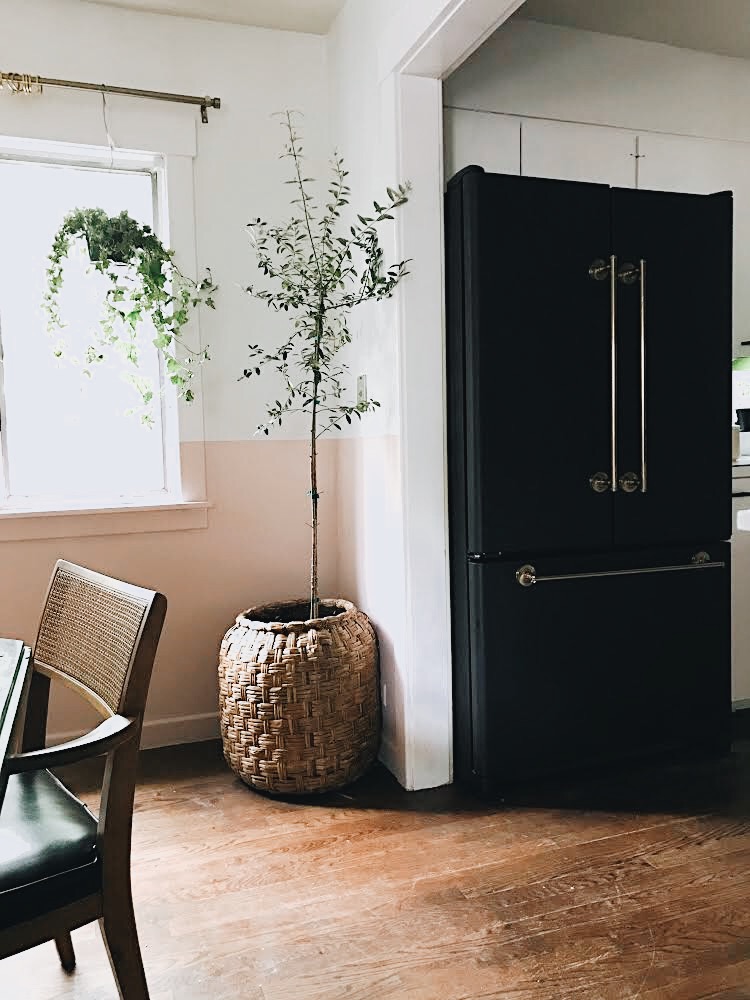
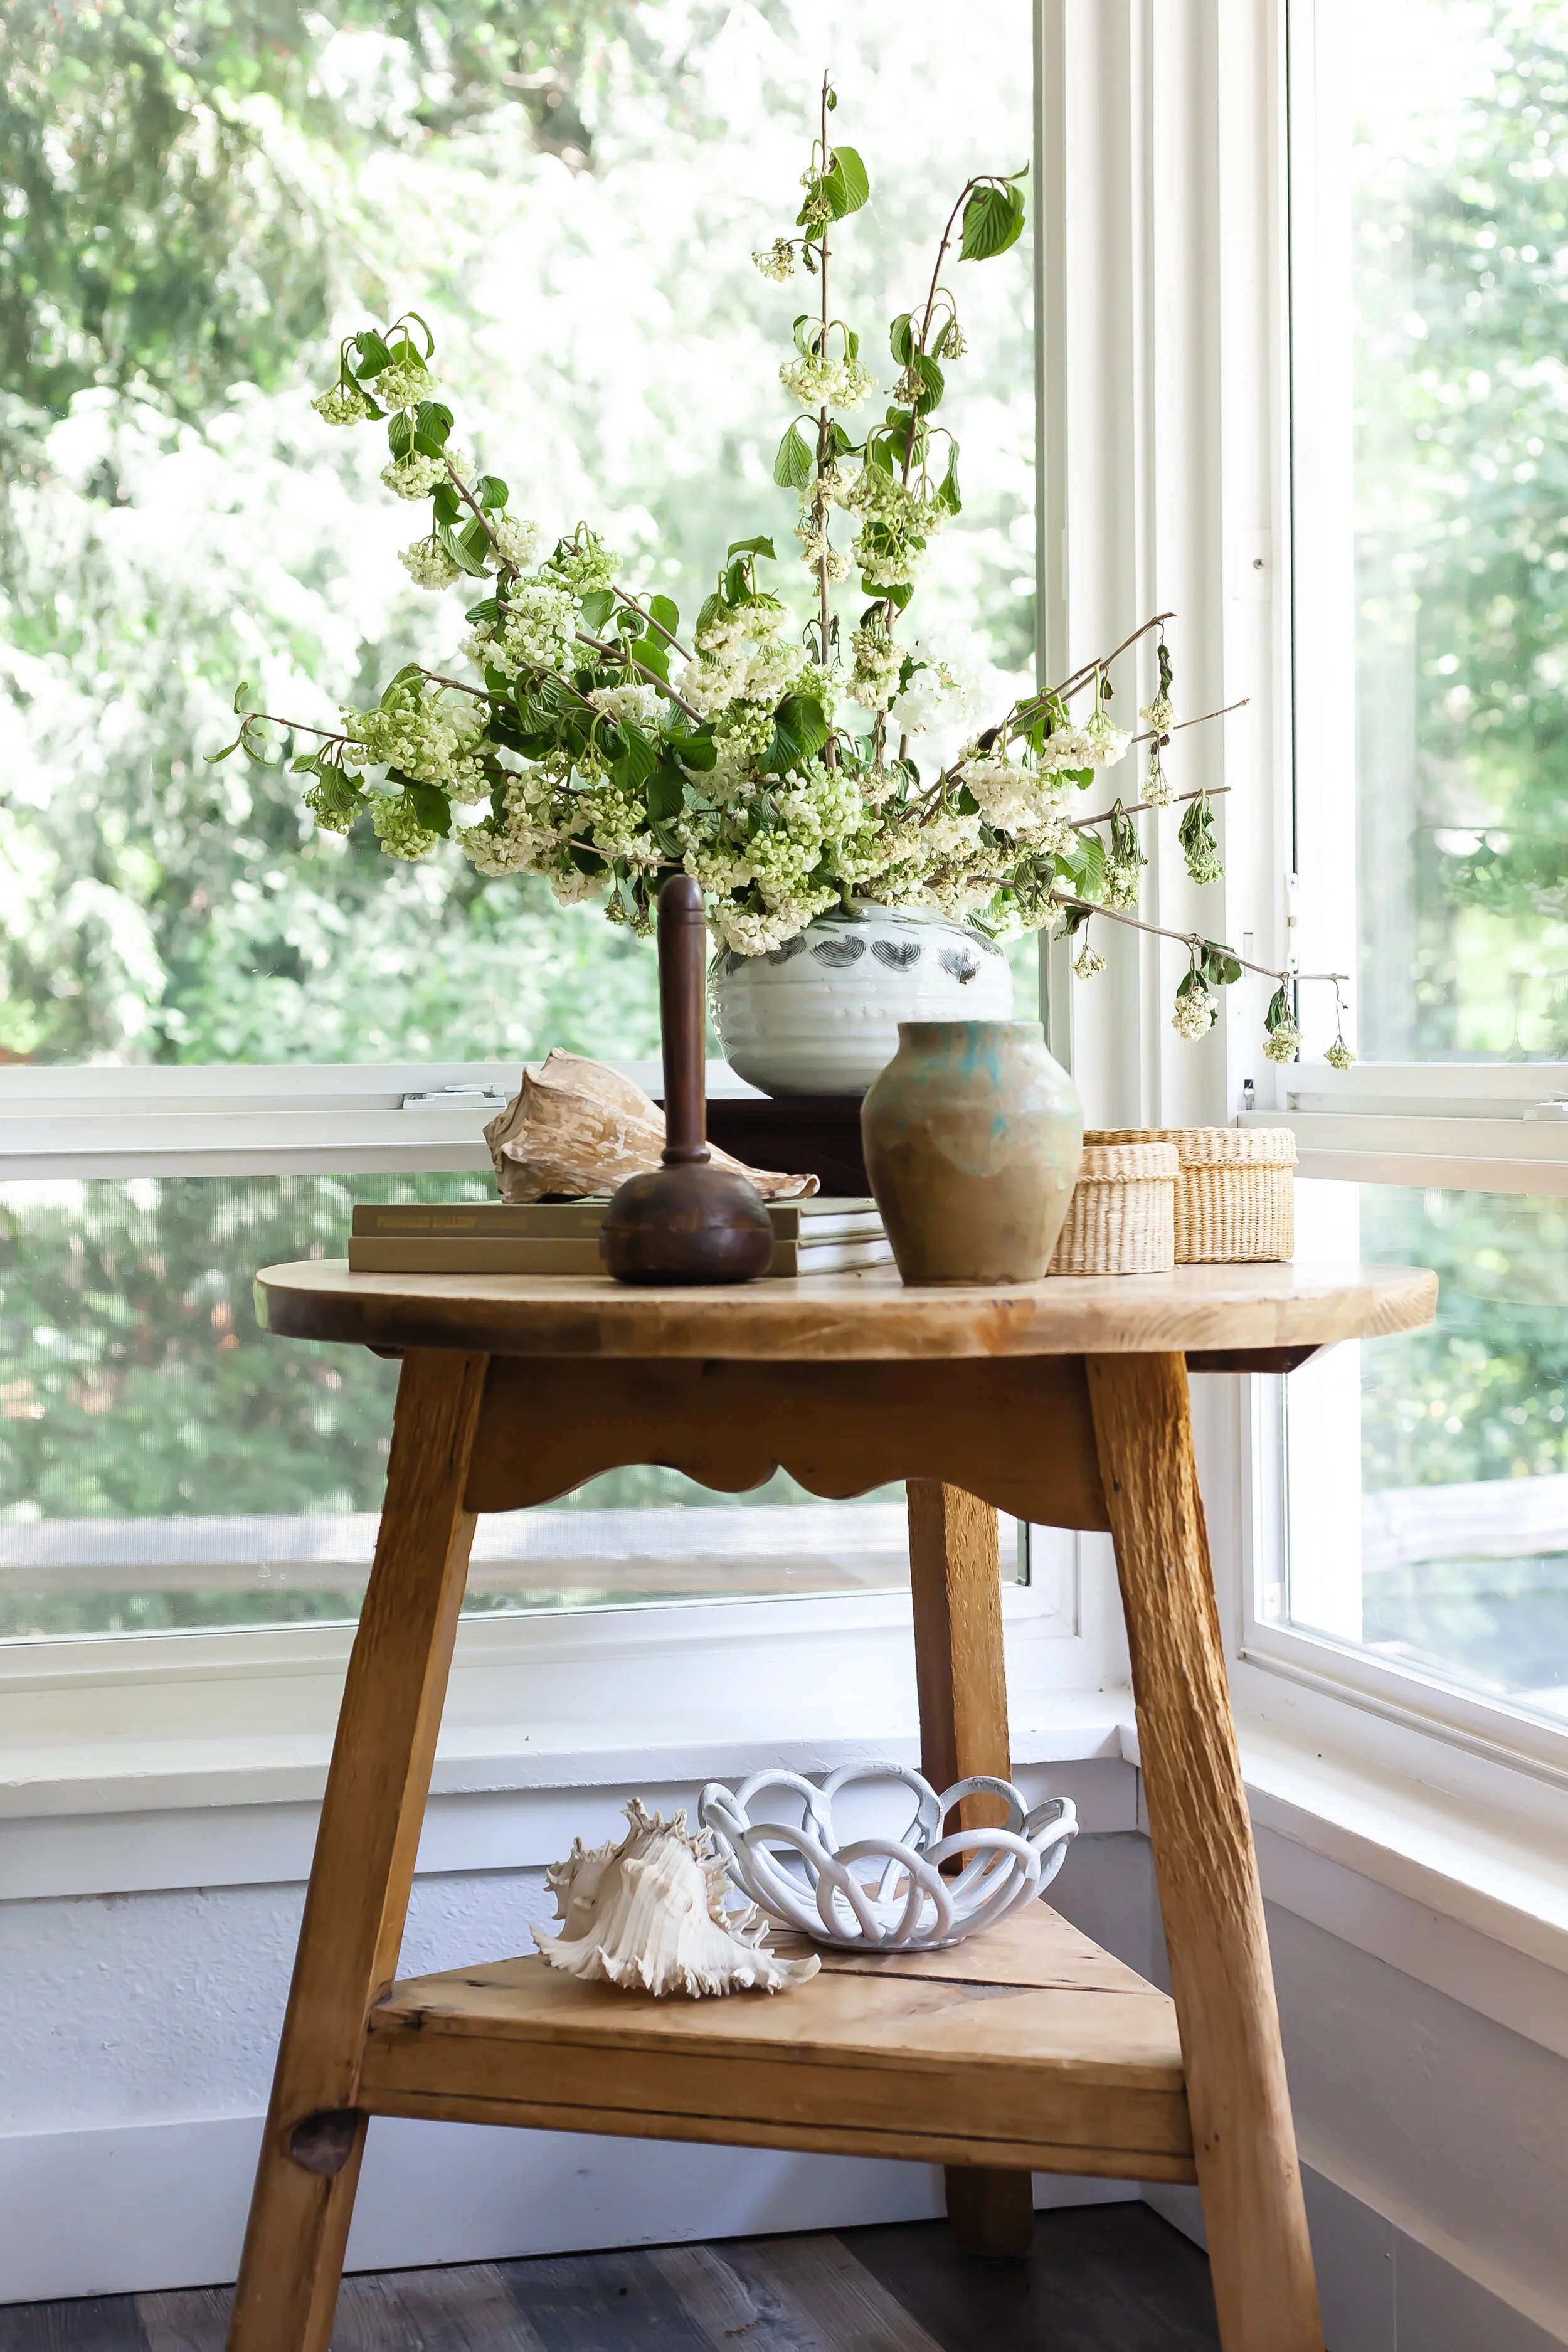
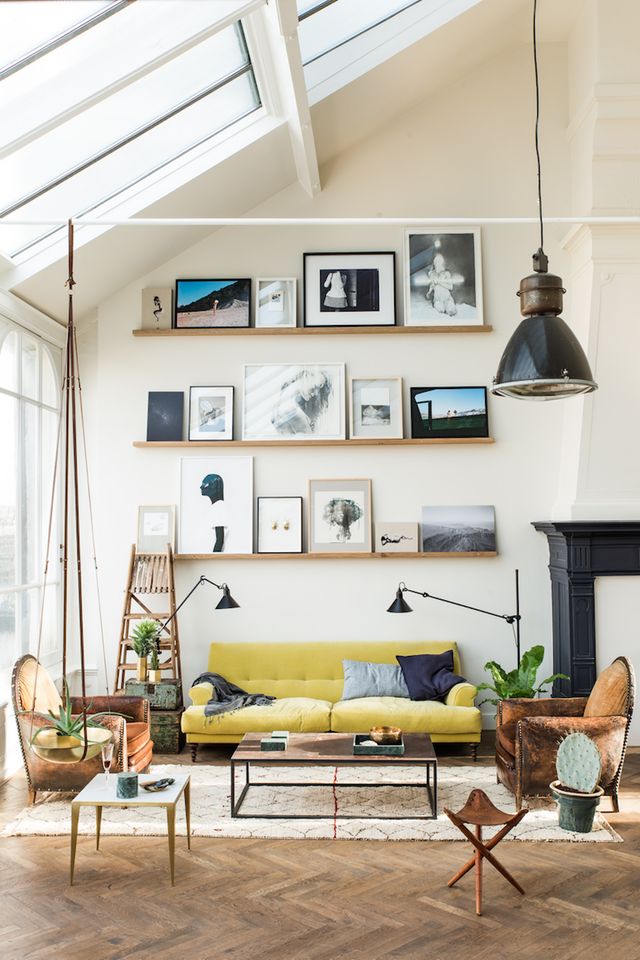
GET COZY + WARM | From new blankets and sweaters to fireplace snuggles with a warm beverage, there’s no doubt that adding a bit of cozy to life offers both physical and mental benefits. I can attest to this fact. I like to keep a bundle of cozy blankets in a basket right beside our living room sofa for easy access whether it’s chilly or not ( I tend to run a little cold most of the year anyhow).
EMBRACE THE SEASON | Just like the Earth, our bodies cycle through seasons. We’ve been conditioned more and more these days to believe that we should always be producing and that rest is secondary to work. This could not be further from the truth. The winter brings shorter days and the passing of so many things in nature. I think we can learn a lot and take cues from those things around us and slow down our paces, allow our souls a breather and find rest in this season. When we find that rest, we realize it’s just the way we were meant to operate in this season and that some of the unrest we feel may be connected to the fact that we are fighting against the way we are created to function.
GET A GOOD THERAPIST | I cannot stress this one enough. Whatever your past experiences or traumas may tell you, consider finding someone to aid in the processing of past and present traumas and reframe the things we too often internalize. (spoiler: our past experiences don’t have to define our present or future experiences) Whether it’s covered through your medical insurance, you’re fortunate to pay out of pocket or have to find discounted counseling services (they do exist), you will be thankful you took the opportunity to care for your mental health in this way. We are an entire system in this human body of ours. One thing I have learned is that I can exercise and perform all the self care I want but if I am not taking care of my emotional and mental health, I’m only taking care of half of myself and that is no way to live fully.
GET HONEST ABOUT YOUR FEELINGS | Sometimes it’s hard to go straight to a therapist. That is understandable especially for those of us who aren’t used to opening up to friends and family about how we are affected by the things that happen to or around us. A good place to start is to be honest with yourself and then with a couple of people in your life you’ve found trustworthy. There are so many studies out there that show that vulnerability isn’t just healing to our hearts but that it offers a balm to our soul. It can be scary but—even more frightening sometimes—can be the thought that we have to go at hards things and feelings and thoughts alone. I love what Brene Brown says about vulnerability: “Vulnerability isn’t weakness, it’s our most accurate measure of courage.” I’ve found this to be true. Experience also tells me that vulnerability begets vulnerability. As we open up about our hardships and authentic feelings, we encourage others to do to the same. I’m a pretty big Brene fan. Her book Daring Greatly changed my life and if you’re looking for a mind shift, it may also be helpful for you.
TAKE YOUR VITAMINS | Vitamin D, Magnesium and limiting sugar can help boost mood and decrease inflammation in the body which has been connected to imbalanced hormone levels and depression. Omega 3 supplements and ashwagandha are also mood boosters throughout the year but especially helpful during the winter months. You can find my list of wellness goodies and products I’ve found to be helpful in combating sickness and stay in good health here.
TURN ON THE TUNES | One word: MUSIC. I am a HUGE fan of good sounds and there have been very few days in our home when music isn’t on in the background. We’ve had a SONOS speaker system for a few years now and have added units each year to each room in the house. This isn’t an ad for SONOS but I wouldn’t buy anything else for quality sound and functionality in our home. I’ll just leave that there. Commercial over. Back to sound…like most of the aforementioned, there are dozens of studies that show the effects of sound on the brain and body. For me, it’s always been somewhat of a mood booster. Next time you’re feeling down, turn on the tunes. Classical and jazz happen to be some particular favorites of mine. Here’s a playlist of a mix I shared in my newsletter a while back.
SEASONAL DECOR | We all know our homes and the spaces we live are deeply connected to the way we feel. I know, personally, how much changing out decor in my home can completely shift my mood but a follower suggested that she specifically waits until after Christmas to shift over to “winter decor” that is more neutral and calming not just for the aesthetic, but because it gives her something to put her hands to. I love this idea for the same reason I love gardening or planning what body movement is going to look like on a daily or weekly basis. I think having this or something like this to look forward to can aid in boosting our moods in the best way.
GET SOME REST | Real rest. We are swamped with so many messages telling us otherwise but there are so many reasons we need real rest. In most cases, we have to take it or fight for it. What does rest look like for you? For me, rest can look like a long social media break (sometimes I take weeks to months off the ‘gram) or vegging out with a warm cup of tea on the sofa while I binge my favorite show or movie. Maybe for you it looks like a long vacation in a different city, state or country where you’re able to do absolutely nothing except relax. Whatever it looks like for you, I’d like to encourage you to find it and do so often. There’s nothing like a soul retreat to reset the worry and help put the things that matter back into perspective. They are not mutually exclusive. Our feelings of sadness can oftentimes become compounded by the worries of life and we all know that nothing has ever resolved from worrying about it.

photography | Anna Peters
I hope you found some of those tips helpful and you’re finding your way into better health, learning to love yourself more and more no matter the season and are able to find joy where you can in these undoubtedly hard seasons.
Friends, we’re gonna make it but we'll make it through even better, together.
Tell me in the comments what you’d add to this list or what you found the most helpful.
Be sure to subscribe to the newsletter for alerts on posts like this and for more soulful home i+ life inspiration.
Have an amazing week!
xo,
Kennesha
P.S. Here’s a playlist for you to keep you going on those days when you need a bit of a calming boost. Light a candle and let the sounds soothe your soul.