home

5 WAYS YOU CAN USE VINTAGE FINDS IN YOUR HOME RIGHT NOW

Okay, so if you've followed me for a while you know that one of the reasons this little gig was even named RH was a tribute not only to God's restoring of my own life BUT to honor my love for vintage and antique finds. 

While my personal home style may have shifted and changed over the years, my desire to add character and personality to the homes we live in through pieces from forgotten times has not. 

Nothing adds flavor, personality or a more lived-in feel more than an architecturally salvaged kitchen utensil turned artwork or a vintage textile from the early 19th century turned well, into whatever your mind can imagine. 

For me, that's the thrill of it all, honestly. From finding the perfect hunt locations locally and abroad, to getting creative with how you use it in your own home, there's nothing quite like using items like these to help a house feel more like home. After all, at the end of the day, that's what we wall want. We all want a space that lends to bringing out the best in not just those who dwell within the four walls we call home but to those who enter as well. We want a space that feels collected and gathered instead of unboxed and sterile. We want a place that feels good and snuggly and cozy and welcoming. Too many adjectives? Never. 

Anyhow, I thought I'd share a bit about my thrifting and antiquing process that you can customize to fit your lifestyle and personal 'style profile'. 

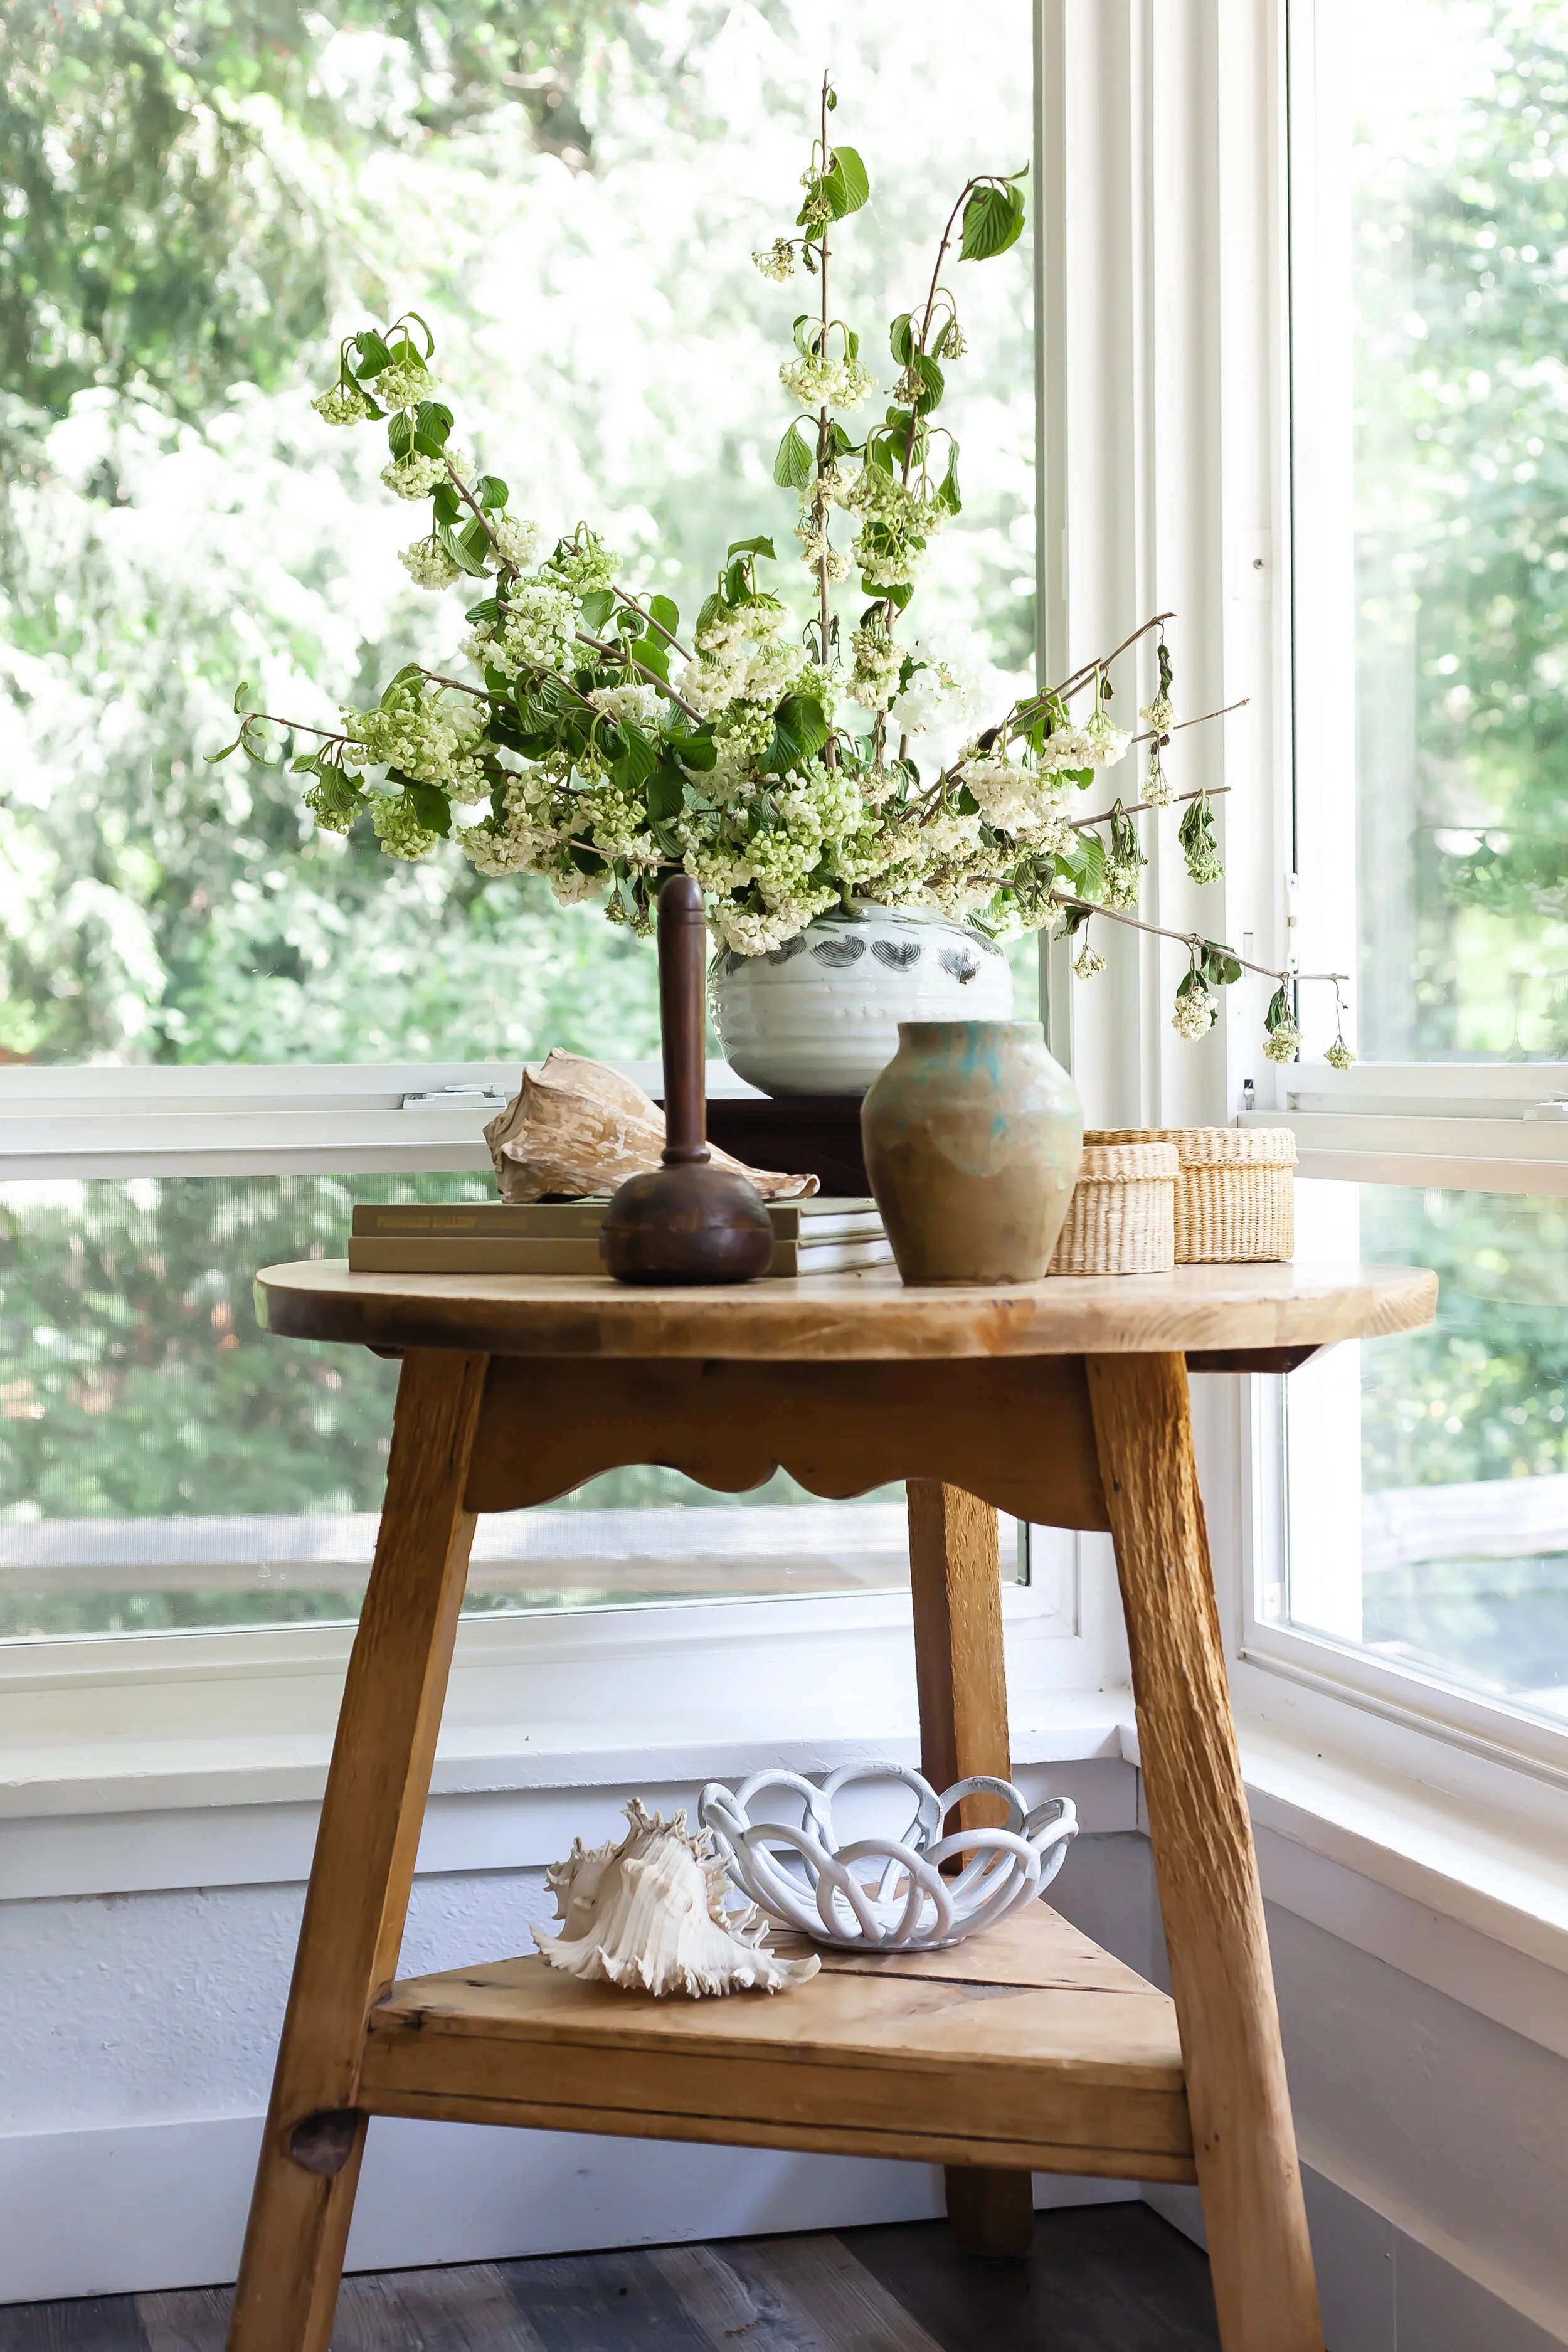
Styling | Kennesha BuycksPhotography | Tiarra Sorte

Styling | Kennesha Buycks

Photography | Tiarra Sorte

Because much of our home has a pretty neutral base, I like to pick up pieces that will easily transition from season to season and from style to style. This means that over the years most of the items I have grabbed in my outings will always fit not matter where we go or what kind of home we live in.

With that in mind, here are 5 ways, you can use some of your favorite finds or how your finds can become your favorite in your own home:


FIVE WAYS YOU CAN USE VINTAGE FINDS IN YOUR HOME

DO | USE PAINTED ART IN ANY ROOM

I love vintage art. Whether it’s paint by number or an old acrylic there’s just something about it that gives me all the good vibes. Adding vintage art in any space can give it more character and a more lived-in feel but I especially love using vintage items in unexpected places. Try hanging some smaller pieces in the bathroom, powder room or kitchen and reserve your larger finds for the living room or bedroom.

Brittany Chignalia via The Glitter Guide

Brittany Chignalia via The Glitter Guide


DO | STYLE THOSE SHELVES

I am pretty sure I have a disease because every few months or so. (Ok, weeks) I get the itch to change out the items on our shelves in our home. This is a no-fuss, easy way to change up small details in a room without making a huge impact. One of my most favorite items to use when doing so are vintage and antique finds that I’ve collected over time. Because we live in small space with limited storage, the shelves in our dining area serve double duty as holders of items I hold near and dear as well as storing functional items I use in our home and specifically in our kitchen like bowls and plates.

Photography | Ryan Flynn Photo

Photography | Ryan Flynn Photo

Via Pinterest by Studio McGee

Via Pinterest by Studio McGee


DO | USE SOMETHING UNEXPECTED ON YOUR WALLS

Speaking of unexpected, this is a hat I found at a local thrift. It was handmade in Thailand and I was so excited to find the perfect spot for it in our guest room at that time. When looking around your local flea markets, thrifts or garage sales don’t pass by anything that speaks to you even if you don’t know what you’ll do with it at that time. If the price is right, snatch it up. Sometimes I find that the true inspiration comes much later. I do, however, have one rule: if I bring something in that doesn’t immediately serve a purpose, I must get rid of one thing in order to make space for it. It’s a small-space rule.

photography | ryan flynn photo

photography | ryan flynn photo


DO | REPURPOSE UNIQUE VINTAGE + ANTIQUE FURNITURE PIECES

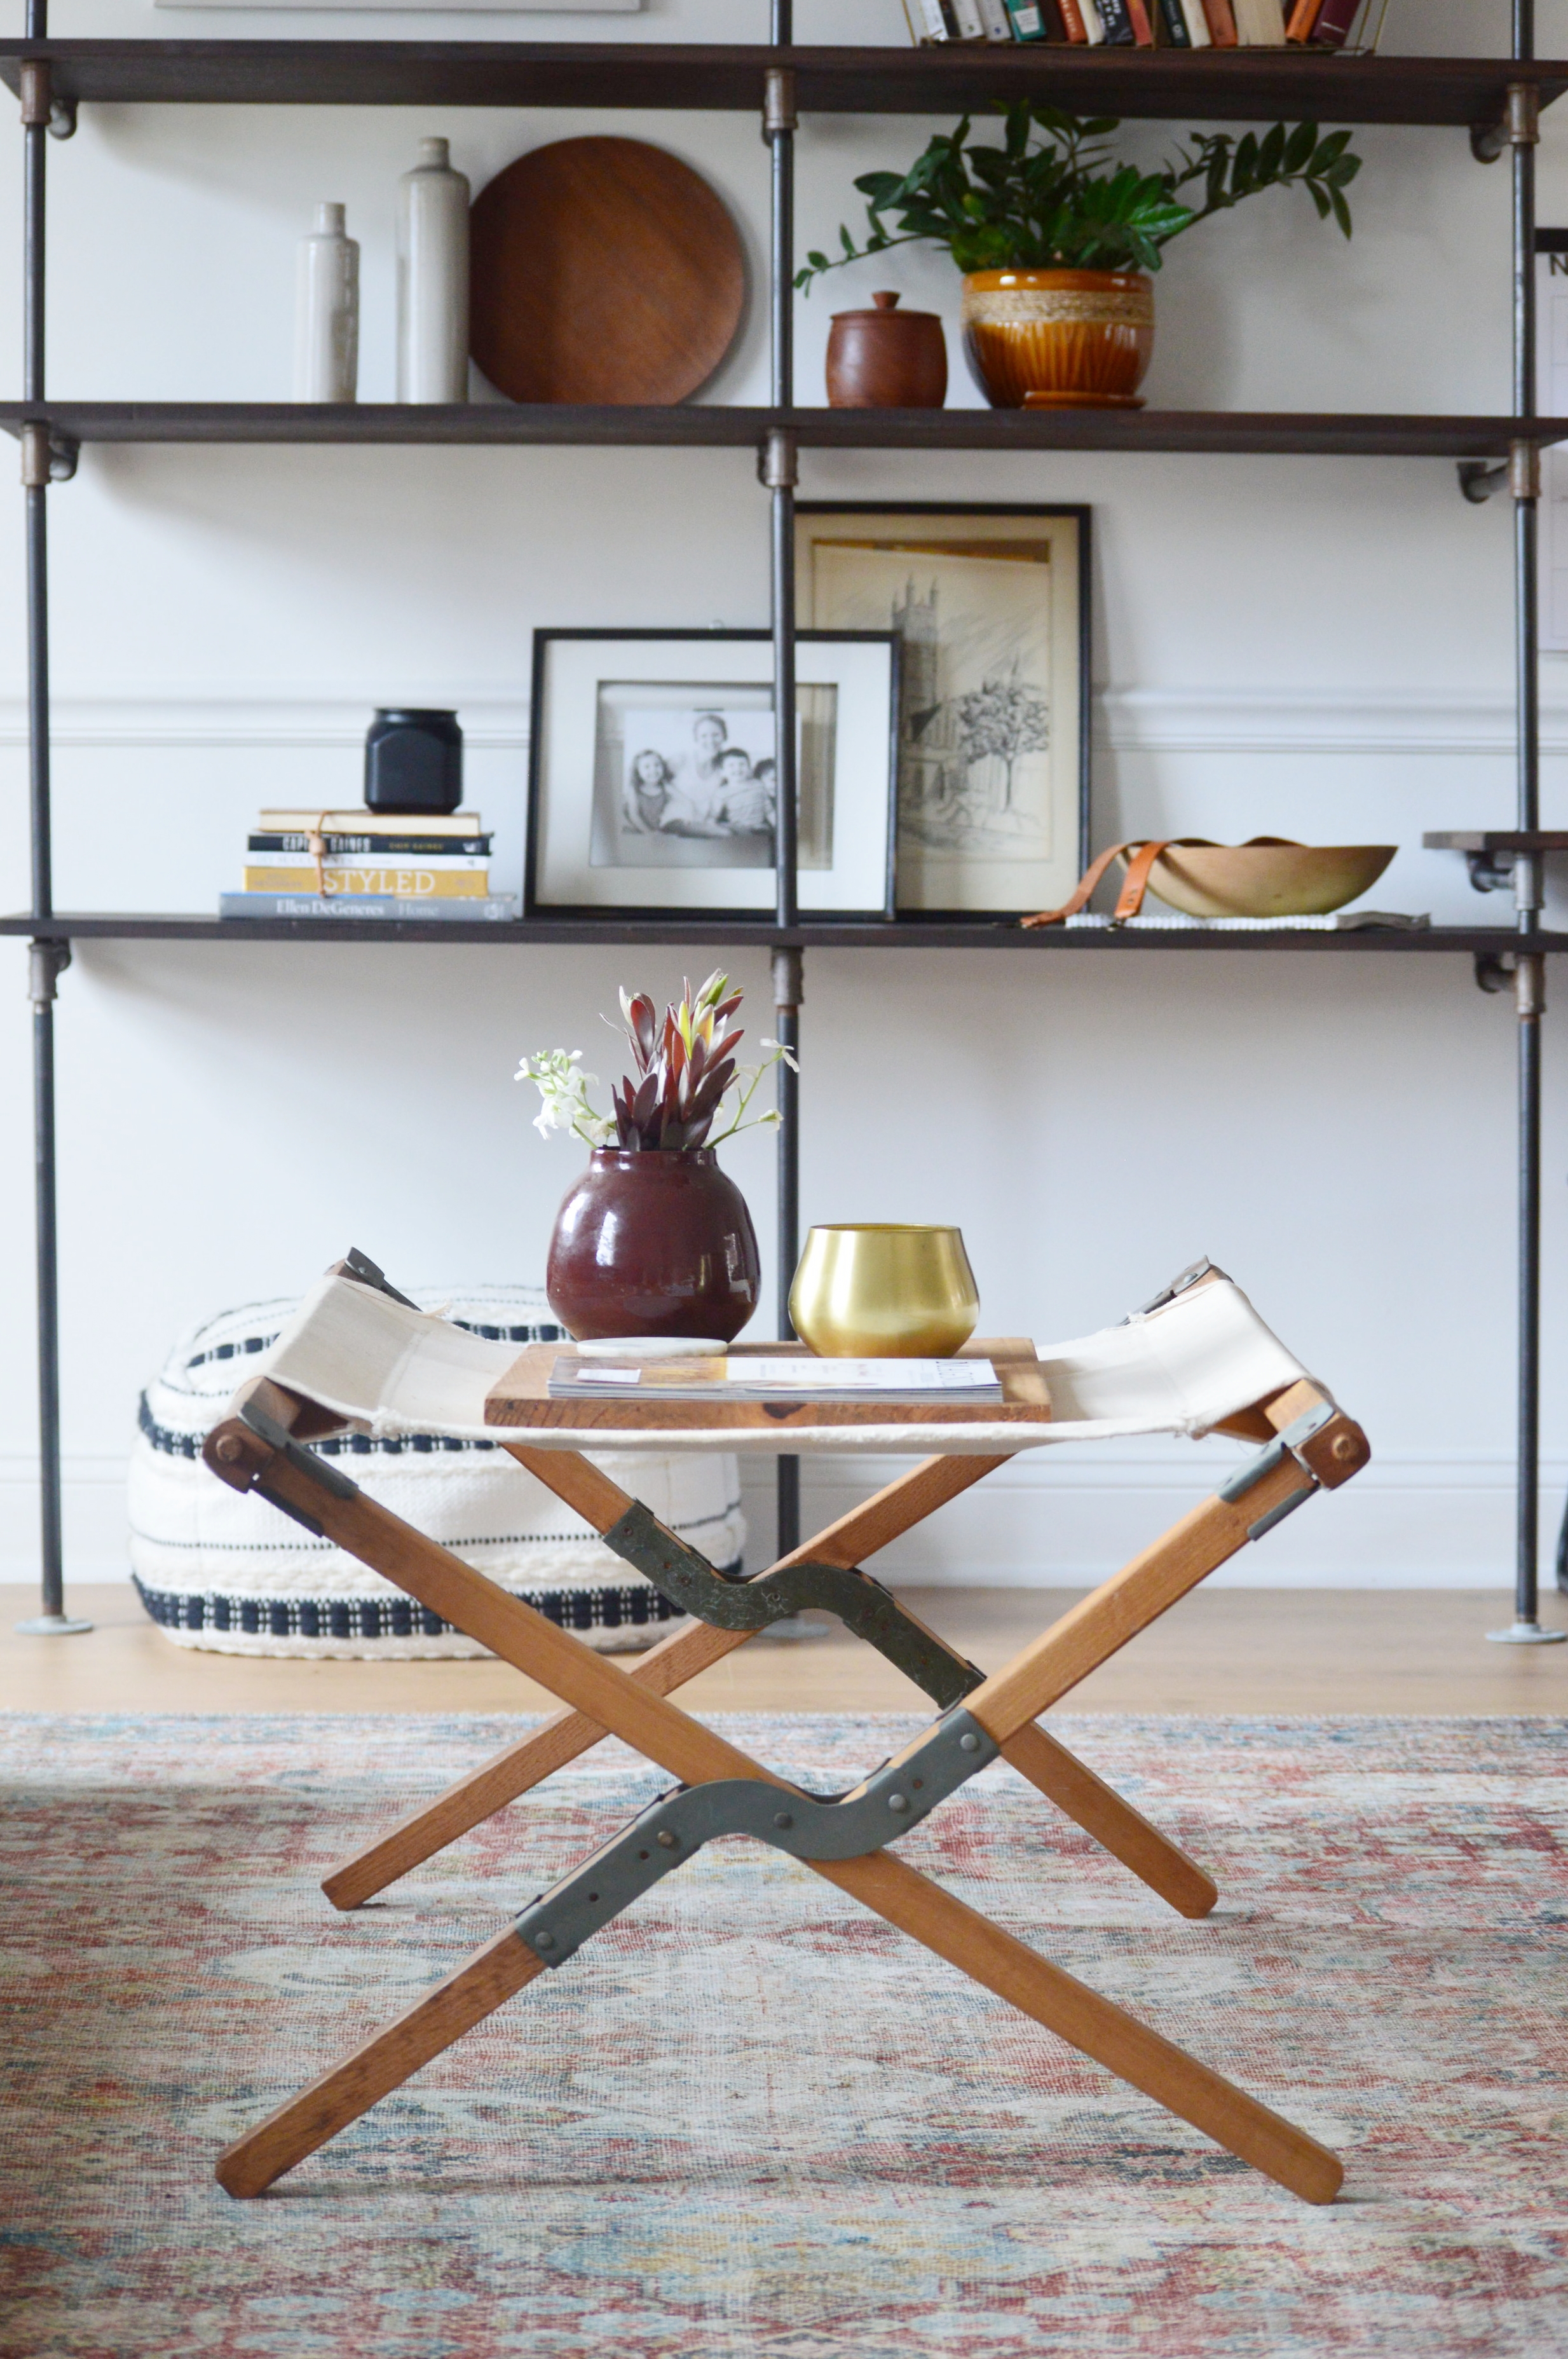
I die. This space of Chelsea’s from Style Mutt Home is a great example of how you can mix and match the new and old, vintage and antique to get the feel of a well-loved, collected space that invites folks to stay for a while. I want to hone in on her use of the camp table as a coffee table. I love how unafraid she was to take something that was meant for one reason and repurpose it in her home for another.

Chelsea | Style Mutt Home

Chelsea | Style Mutt Home


DO | USE THEM ON YOUR TABLETOP

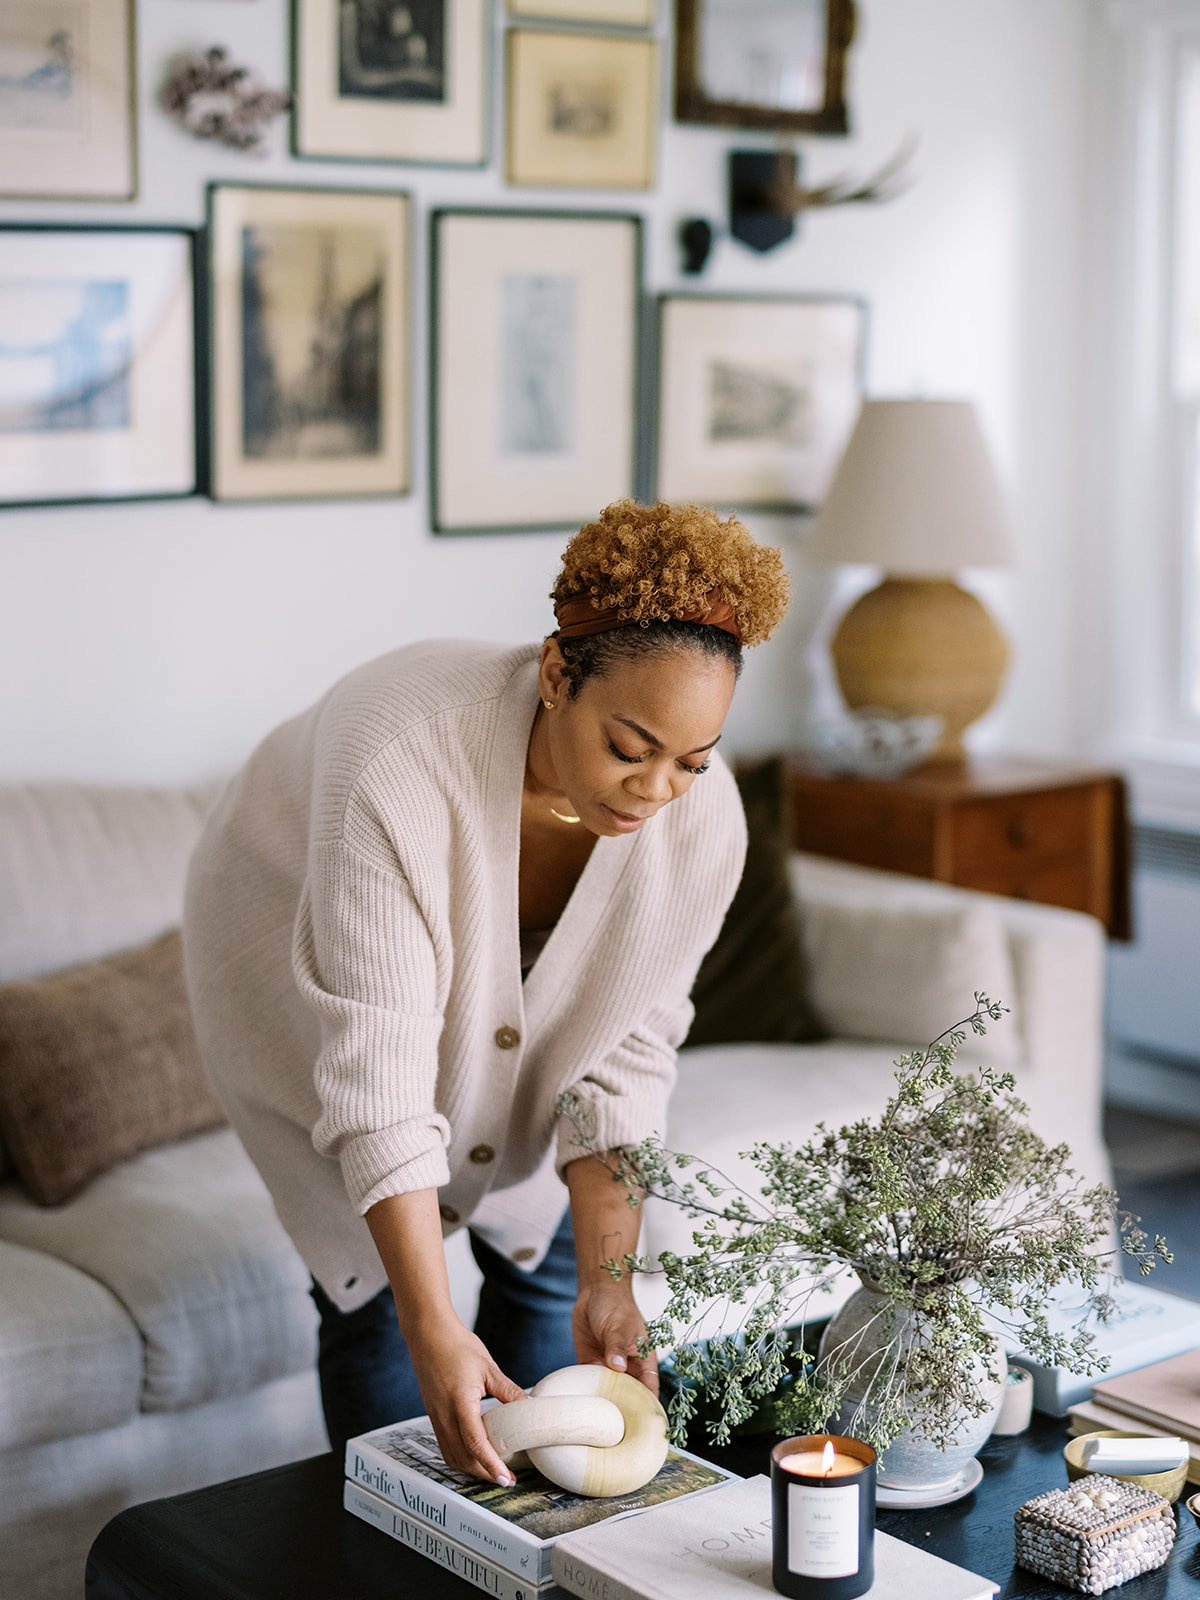
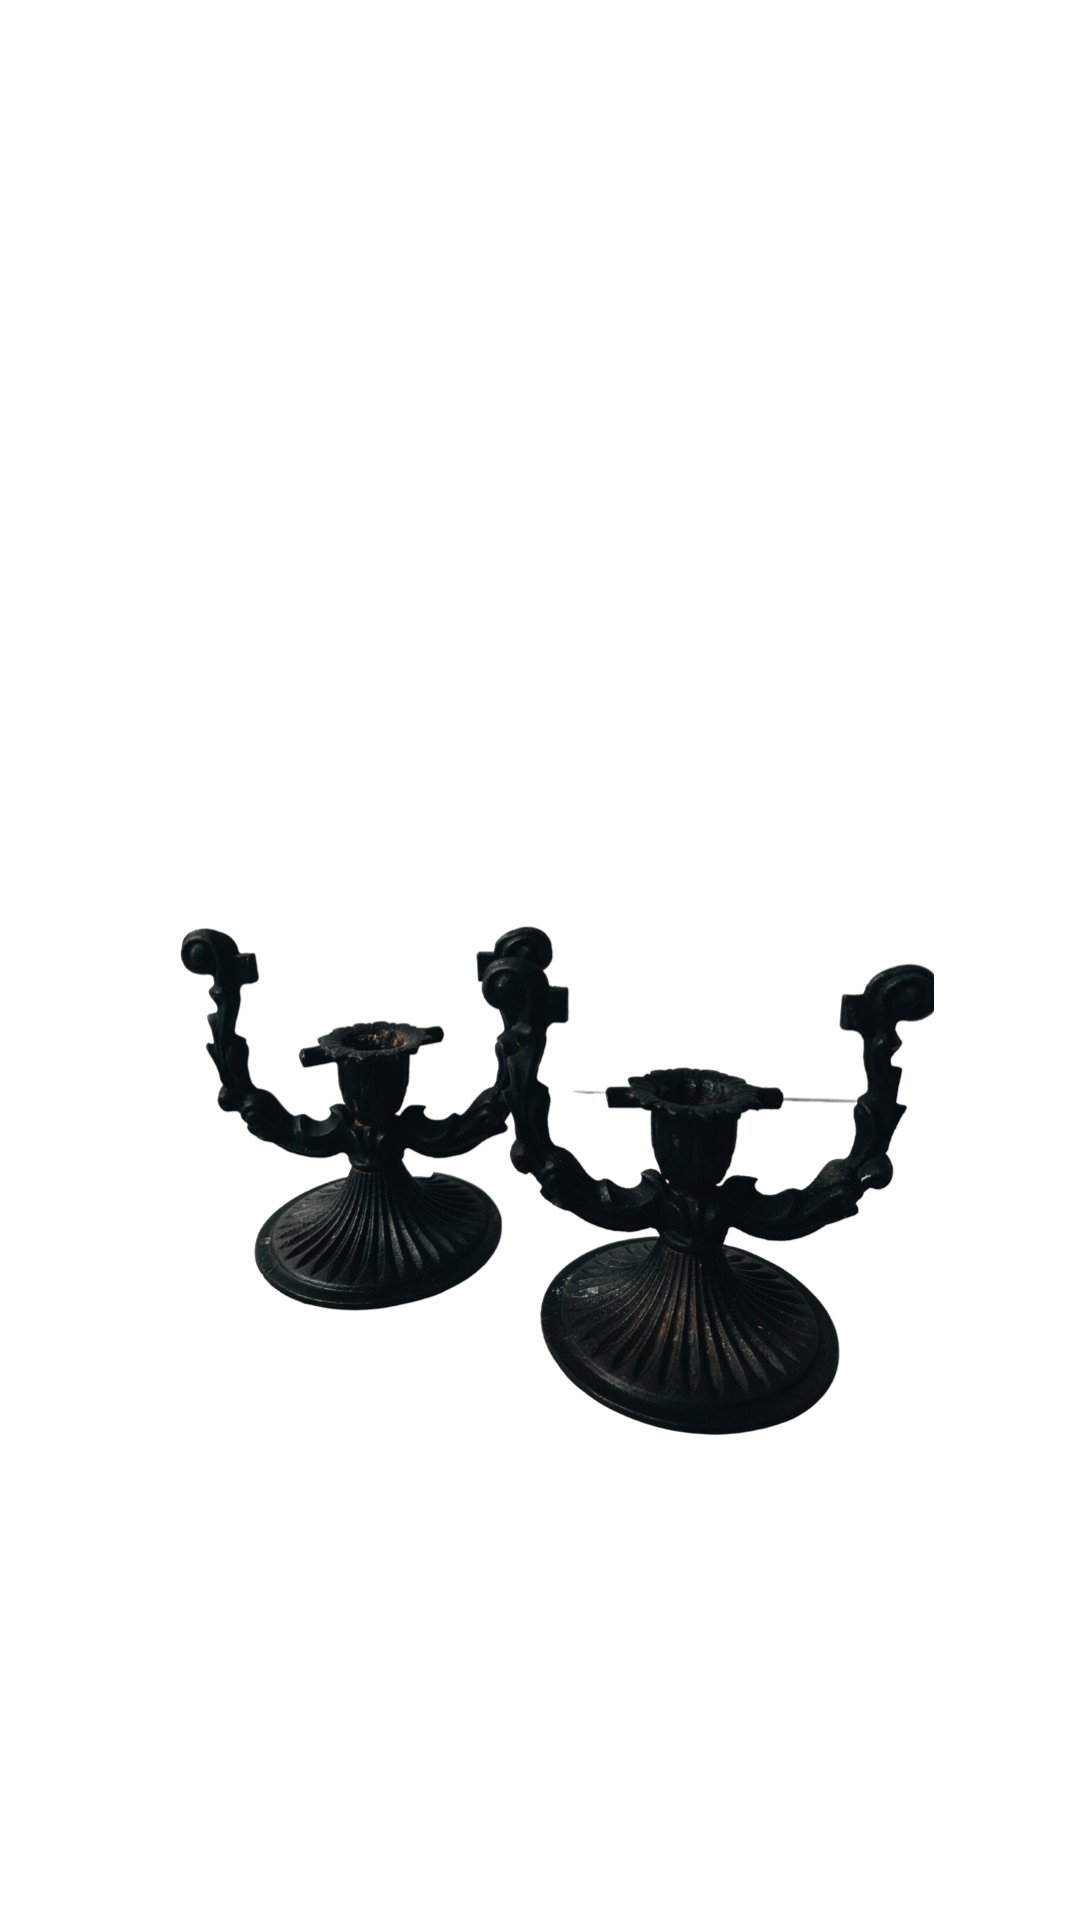
Dining in? This is the perfect time to style those wooden cutting boards or vintage glasses amongst your favorite dinner plates and serveware. 90% of what you see below came from my local thrift. From the candlesticks to the plates at each table setting you see, I used secondhand items to turn this inspirational tabletop into something beautiful. It doesn’t take a ton of thought or energy to create something that is unique to your style or taste.

Photography | Tiarra Sorte

Photography | Tiarra Sorte

Tell me how you like to use your unique finds in your home in the comments below!

THNKSGVN TBL INSPO (3).png


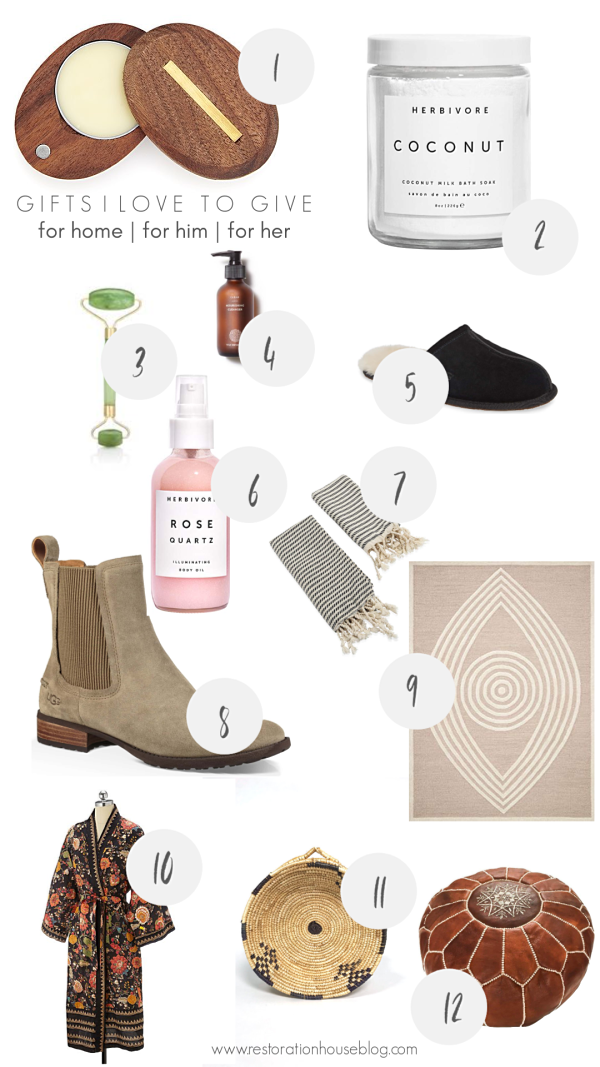
HOLIDAY GIFT GUIDE 2018

Hello, friends!

I am so excited to share some specially curated items with you today that I know you guys are going to love not for sharing with friends and family but maybe you’ll even find a little something for yourself or to add to your wishlist as we approach one of the busiest holiday seasons of the year.

To make things just a little easier for you, I’ve done some of the heavy lifting for you by providing each of you with some of my favorite items from some of my favorite brands and places to shop.

It was difficult for me to narrow it down to only a few categories but below you’ll find some of my faves in home, for him and her, for kitchen and entertaining and for families. I sure hope you find some things that you like and, even better, that you feel you or someone you love, just won’t be able to live without.

As you read and shop below, you can click on the links under each of the listed images to go directly to the product of your interest. Many of the products you will see below are affiliate links and I will receive a small commission from your purchase but does not affect your purchase price. As always I am so thankful for your support in many ways around here and this is just one of the ways I can support my family while doing what I love and also continue to create meaningful content for each of you! THANK YOU FOR SUPPORTING ME!


GIFTS FOR THE HOME

Of course I’m beginning here with gifts for the home because it’s just so stinking fun to decorate and just happens to be one of my favorite areas to gift. Of special mention below (while ALL of them are my faves) are the throw (top left) and the diffuser. Throws are an easy gift as they can serve so any purposes in the home and I’m all about my oils and diffusers right now for not only making our home smell scrumptious but for fighting nasty colds and germs throughout the season.


Square Deal Collage 3.png

stone + beam throw | safavieh tunisia area rug | leather pouf

viturvi diffuser | ceramic planter w/ wood stand | boy smells redwood

loloi pillow | graphic accent pillow | j. adler blush rug

GIFTS FOR KITCHEN + ENTERTAINING

Okay, maybe I lied. Give me all the fun products and gadgets and decor for the kitchen. I know you guys are with me. I absolutely adore anything in my home that gives me the opportunity to add a bit of flair and personality and from the items below, the vintage wall basket and those striped linen napkins. My goodness, guys. You’re probably thinking OMG I have enough linens. I just need you to know there’s no such thing. The striped ones below and somewhat of a staple and can go with just about any tabletop decor or design. They have quickly become some of my faves. I even love taking this beyond the table to our bathroom. I love the idea of placing napkins such as these in a basket on the counter in a bathroom and having them at the ready for guests to use and toss into a separate basket after each use.


KITCHEN+ENTERTN.png

wooden condiment cup | cheese knives set | wall basket

reusable market tote | linen dinner napkins | ceramic teapot in artichoke

mango wood serving board | pedra serving platter | vintage ceramic bowl


GIFTS FOR HIM

I’m pretty sure Larry wil get all of this for Christmas. (surprise Larry!) This one was so fun to make as I absolutely adore shopping for friends but I LOVE shopping for my mister. Two of my favorites here are the docking station because it’s handmade and something you won’t see everyday. It’s perfect for a nightstand if you have space for it there or for the top of a dresser in a bedroom or closet. Second fave would be that Le Labo scent set. These are OUR favorite scents. I love that Le Labo is natural and made from some the highest quality oils. You best believe they are all worth the price (a little more on the expensive side) and the bonus…they’re for both male and female. Don’t tell Larry but when I buy them for him…they’re really for me too. Shhhh…


Mens'Gifts.png

steak knives set | woolrich wool blanket | mens’ ugg slipper

le labo set | brixton mens’ hat | wooden handmade docking station

chelsea boots | brass key ring | knife sharpener

GIFTS FOR HER

OMG. This may sound crazy but this list was harder for me, friends. I’m not sure why but it could have SOMETHING to do with the fact that us girls have so much to choose from and most of us are always buying for ourselves. Just me?

Pics from this list: the Aritzia blanket scarf and the Honest Beauty facial oil. The blanket scarves I’ve literally not been able to live without over the past couple of years. They’ve been wrapped around me only, me + my kids at sports events and even served as comfort on the grass, as the name states, as a blanket when I’ve forgotten to pack one. It’s a staple as far as I’m concerned and I’m also slightly obsessed with facial oils over the year. I’ve seen a real difference in my complexion since I decided to begin using them and this one from Honest is one of the best.


Square Deal Collage 3 (1).png

kanken mini backpack | honest facial oil | facial cleanser

le labo travel set | black crescent necklace | kimono robe

adidas sneaker | wool blanket scarf | jade facial roller

These lists are by no means exhaustive but I hope you find something that you love or that you know friends and family will love. Thanks for letting me share some of my favorite things with you all!

Be sure and follow along today on Instagram for some additional gift ideas in my stories and head on over to my friends’ blogs today and throughout the week to see what they are suggesting for those special finds for the special ones in your lives:

MONDAY

Sarah at Thrifty Decor Chick

Christy and Amy at 11 Magnolia Lane

Chris at Just a Girl

Brooke at All Things Thrifty

Carmel at Our Fifth House

TUESDAY

Laura at Inspiration for Moms

Beth at Home Stories A to Z

Mysha at Remington Avenue

Liz at Naptime Decorator

Alma at Almafied

Courtney at A Thoughtful Place

WEDNESDAY

Rhoda at Southern Hospitality

Sheila at Maison de Cinq

Yuni at Love Your Abode

Jordan at House Becomes Home

Traci at Beneath Your Heart

GIFTS I LOVE.png

DIY | A SURPRISING FRIDGE TRANSFORMATION by Katie Saro

A HUGE thanks to Katie Sarokhanian, for sharing her expertise with us today on the blog. Katie is an artist and interior design lover who lives by the mantra: “your home is your creative canvas”. She is a mom of 5 and has an amazing attention to detail as made apparent below. I am so excited to have her join us over here at Restoration House for a little DIY that just about anyone could tackle in their own home.


I’ve been frustrated with the lack of options for fridges these days. Stainless steel has been reigning at the top of the refrigerator world, and I see why, but I wanted something different. Wish List: 1. High-end look 2. Unique 3.Fits my space 4. Coordinates with the brass and gold in my kitchen 5. Works well and 6. Inexpensive. Sound super attainable, right? 

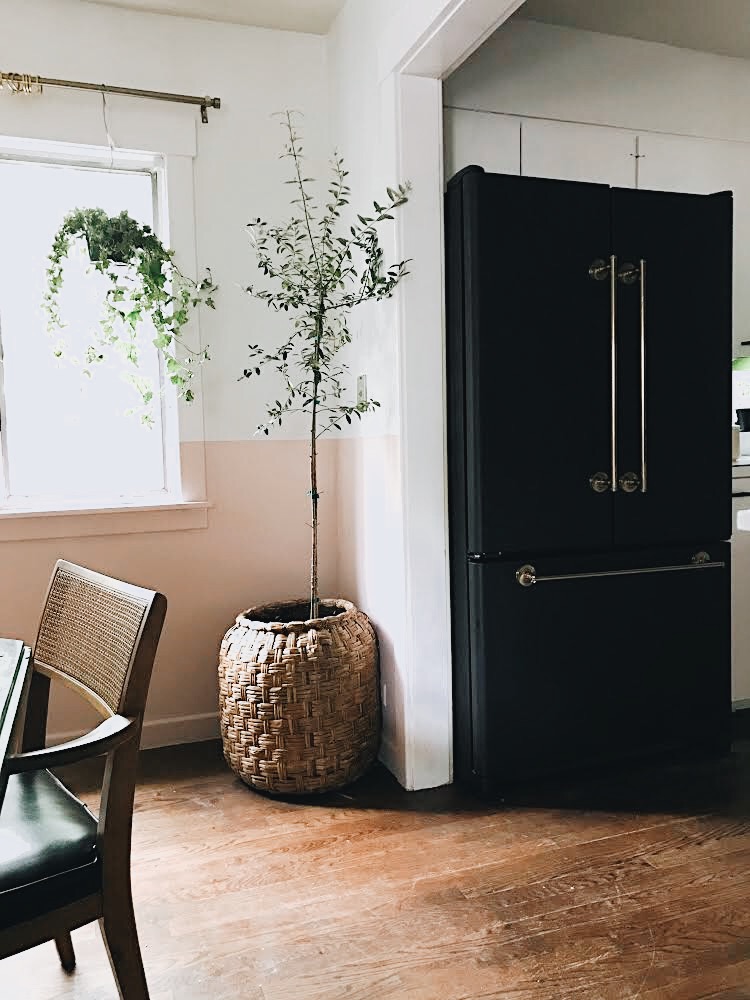
I found a new matte black refrigerator online that I fell in love with, but it came with a $3k price tag. Since we’re not ready for a total kitchen renovation, I decided to make my own matte black beauty.

One of the most important steps is to find a good stainless steel fridge to “ruin”, of course! I found this one on Craigslist for $200. It was fairly new, the right size, a great brand, and worked perfectly, but had one big scratch on the front and thus the low price. Great candidate for a painted-fridge experiment!

 Here’s the breakdown of how I updated this refrigerator, which included, sanding, priming, painting, and replacing the old handles with new matte brass handles.

45D932E2-1E9B-4491-A9D6-2471A86680FB.JPG


1. REMOVE THE OLD HANDLES.

Look on the side of the handle and you’ll see a small hole. Grab an allen wrench to loosen the screws, and the handles will come right off! Shockingly simply. If your fridge has a glued-on logo on the front, I also suggest taking that off for a custom look. I popped mine right off using a flat head screwdriver.

2. MEASURE HOLE-TO-HOLE.

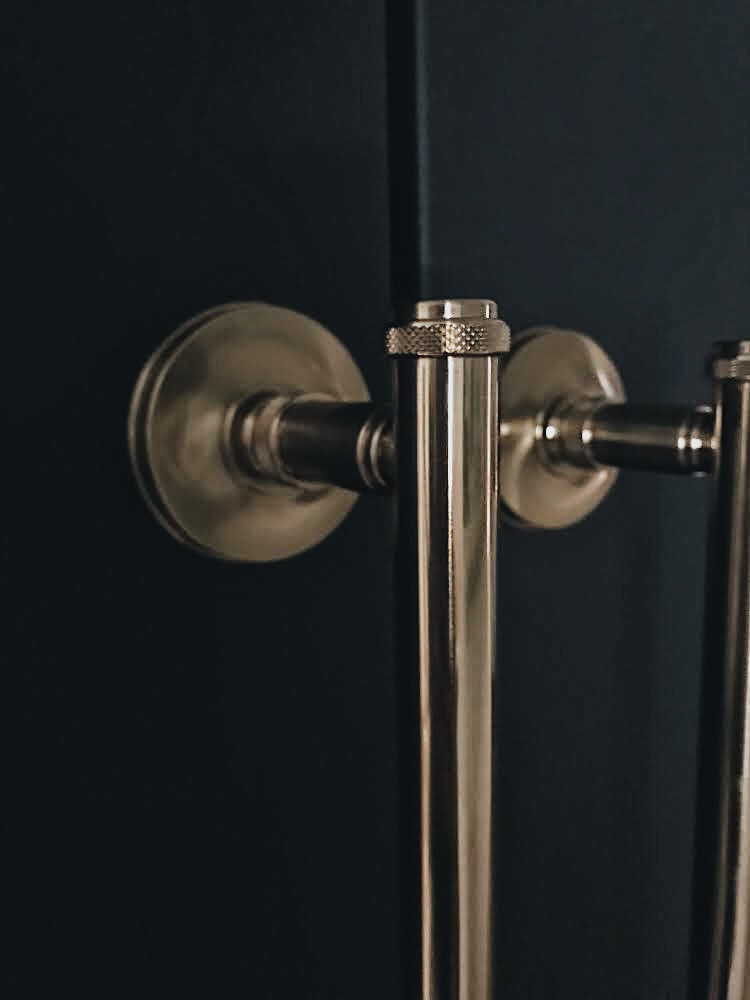
It’s WAY easier to install new handles if they’re the same size as the existing holes. There are a wide range of appliance handles that you can purchase that look great, but they’re also expensive, which defeats the purpose of trying to make an affordable update to a used fridge. So, my solution was a towel bar. No, really! I searched on Amazon for something brass with 24” hole-to-hole measurement and found these for $29:

matte_black_diy_fridge.jpg

(The ones I bought are out of stock but there are many other gorgeous options, like these.) I also looked at grab bars like these, which might be a good option for your fridge depending on your handle measurements.

Or, of course, you can keep your existing handles and just paint those too!

3. PREP THE STAINLESS STEEL.

First, I sanded the metal with a fine sanding block. Next was primer. There are a lot of primers out there made specifically for metal. I usually walk into a Sherwin-Williams store, tell them what I’m doing, and they have great suggestions for the right type of paint and primer to use. That is one option for you and I’m guessing it would work just fine. This time, however, I used something called “self etching primer” instead of the usual metal primer. Self-etching primer is customarily used on automobiles, but I thought I might try it here since at our house, our refrigerator has to withstand loads of abuse and heavy scrubbing. There are a lot of different brands and options online, and you could buy it in a spray can or roll it on. But, make sure to buy a dark-base primer. (I accidentally bought a white tinted primer, which still worked fine but I had to do about 5 top coats of black paint.)

4. PAINT THE FRIDGE BLACK.

I bought Sherwin-Williams “Emerald” latex paint in a matte finish in Tricorn Black. It looks great! I did about 5 coats on the front using a small foam roller. On the sides of the fridge, which were not stainless steel, I didn’t sand or prime at all. I simply put on two coats of this same paint, which is a paint/primer combo. Mostly that’s because the sides are rarely touched or scrubbed and thus didn’t need to be as durable.

84F88F8C-938B-4380-B9E1-FAE82A761578.JPG

5. INSTALL NEW HANDLES.

To install my new handles, all I did was follow the mounting instructions that came with the “handle” (towel bar) and screwed right into the exiting anchored hole on the refrigerator door. It was simple and they are now sturdily attached! However, the bottom handle of the fridge was a bit more difficult. After a few days, the handle started to get loose. Why? Because to open the bottom freezer drawer, you have to pull OUT and UP at the same time, which strained the mounting hardware that was designed for a towel bar, not a freezer drawer. My solution was this product called JB Weld. The salesman at Lowes said he once used it to attach a trailer to a broken hitch, so I figured it was strong enough for a handle. I put a dab of the putty between the mounting hardware and the handle and clamped it for an hour or so. So far it has worked great! If you couldn’t find handles that fit your existing screw holes, you could possibly use this same product to attach your new handles. I would still screw right into the refrigerator door, then reinforce the mount with the JB Weld putty.


013FCAA9-8B1B-4437-8F11-A2DF02181FCA.JPG


After attaching the handles, I was done! It took just 3 days to complete due to drying and re-coat times, (and due to the fact that I was slowly moving, 9-months-pregnant lady trying to crawl around and paint a fridge in the middle of the night).

I now have a custom, high-end looking refrigerator instead of the giant, stainless steel BEAST that took up all the visual space in my kitchen, and I couldn’t be more thrilled! Honestly, I prefer the look of this DIY refrigerator to any new models I could buy—at least any new models I could buy that are less than about 8k dollars, if you know what I mean.

 So, if you have the same stainless-steel-hating problem, if you are aching for something creative for your kitchen, and if you’re not afraid of a little paint—give it a try! Someone once told me that you can’t ruin what you already hate, and that gave me the push to not only paint my refrigerator black, but to paint my cabinets pink. Gasp! That was such wise advice. Now I’m passing it along. Get creative my friends, because your home isn’t just your home, it’s your canvas too.

SOME HELPFUL FAQ’S |

Here are a few questions I got from my Instagram readers that you may also have:

 How do you paint your handles if you want to keep your same handles?

I would suggest a light sand, and using the spray can version of the self-etching primer (assuming your handles are also stainless steel).

Can you paint a fridge that’s not stainless steel?

Sure, why not? I wanted to do it on a stainless steel surface because it would have a much smoother look than the alternative, textured refrigerator surfaces.

How is the paint holding up?

Great so far! It’s been about 6 weeks. I considered putting a matte poly over the topcoat, but since I had a baby the day after I finished this project, I never got around to it. I can guess that it might add an extra layer of protection, and I still might do that someday.

What about that scratch on the refrigerator?

(The original finish had a few minor scratches)

It’s almost completely unnoticeable after painting! So, if you want to give this a try but are afraid to do it on an expensive stainless fridge. Look for an inexpensive one like mine with scratches. Here is a close-up of the scratch in the bottom left corner. (I didn’t attempt to repair or fill the scratch at all.)

Hot Plate Hot Plate.png